
So here's my step by step Thanksgiving banner that I made this past week.

Ingredients
Acrylic Paint (I used the leftovers from the Halloween banner)
Bronze Spray Paint (I used Valspar from Lowes)
Kitchen Sponge
Chalk
Paint Brush
Hole Punch
Directions
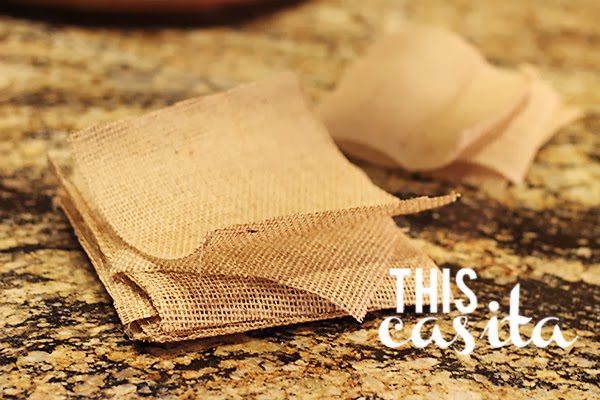
Cut the burlap into pieces. I cut squares/rectangles to a size that I like (nothing exact), then fold in half vertically and make a cut along the bottom to create the triangle cutout at the bottom. Or, like I usually do, you can just eyeball and make your cuts that way.


Take the pieces outside to spray paint. On my previous banners, I hand painted with acrylic. It's a PITA, but unavoidable sometimes. If you know that you will be using a solid color for the background, buy spray paint. Cuts the time in half and dries pretty quickly. I would also recommend leaving outside for at least 24 hours to also help the paint smell dissipate.
Once your pieces are dry, I like to use white chalk to draw my letters. I am a free hander when it comes to my banners. Some people use stencils, which is great, but I happen to like my writing and like to do it on my own. Once you have your letters drawn, use your acrylic paint and a small paint brush to paint over in whichever color you decide.
Next, I cut three circles (free hand again) out of a single kitchen sponge. I did mine each a different size to add a little character, but it's all personal preference.
Then you just dip into the paint and sponge paint the dots on!
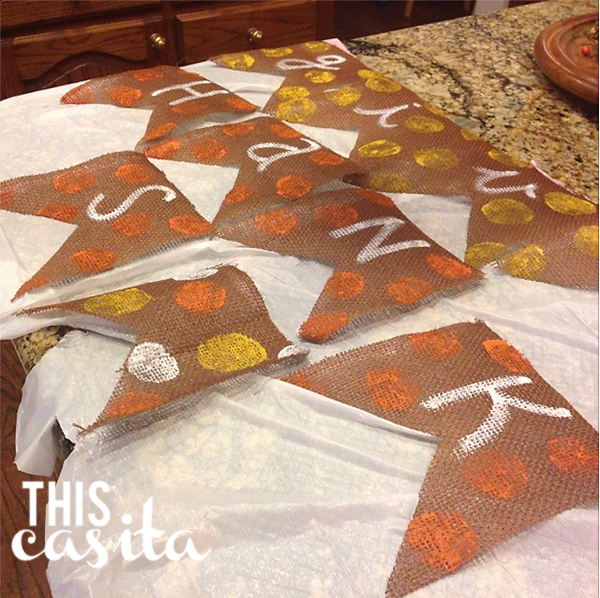
Once it's all dry, punch two holes at the top of each piece, then hang each piece on the string and voila! If you're like me and punched your holes a bit too close to the letters, just string behind the piece instead of in front.
No comments:
Post a Comment